


Your Gatsby Website on AWS S3
Gatsby is an open-source, modern website framework that has been growing over time, and currently, it is been used by a huge number of websites such as marketing websites, blogs, and generated static pages.
Gatsby's wide adoption comes from being super-fast since it employs the speed of a static website and the power of Progressive Web App (PWA) and Single Page Application (SPA) providing this way a mobile app-like experience, where the user feels like switching pages in a mobile app, rather than a website.
By combining Gatsby with Amazon Web Services S3, you will end up with a super-fast website that will cost roughly a dollar a month and that can scale to handle millions of users.
Part One: Getting Started
This post's one out of three, and I will cover how to host a static Website in AWS S3 Bucket.
For this starter, I will assume that you have basic knowledge of Git, Gitlab CI/CD, and AWS.
1. Create your AWS S3 Bucket
Before you start hosting your website on AWS S3, you will need a bucket. It is mandatory that your bucket has the same name as your domain name. For instance, if your domain is: mys3domain.com, your bucket shall be named as mys3domain.com as pictured below:
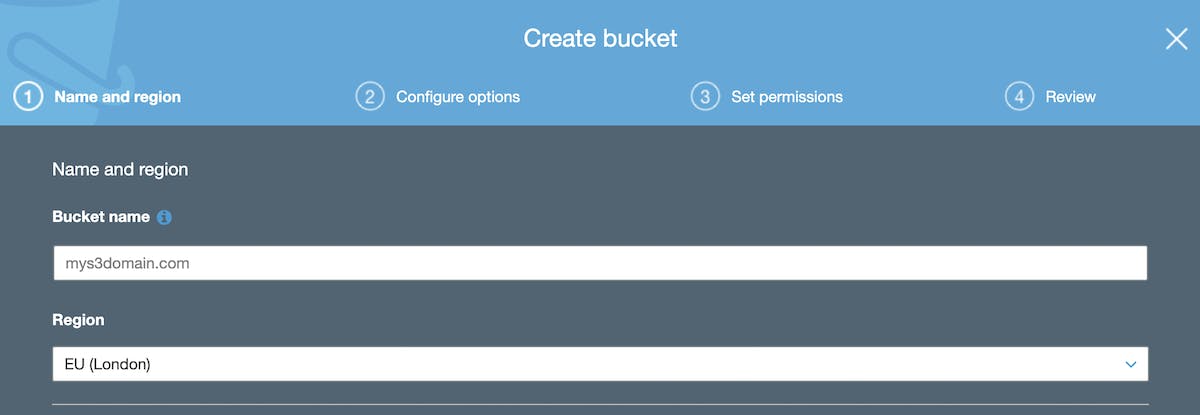
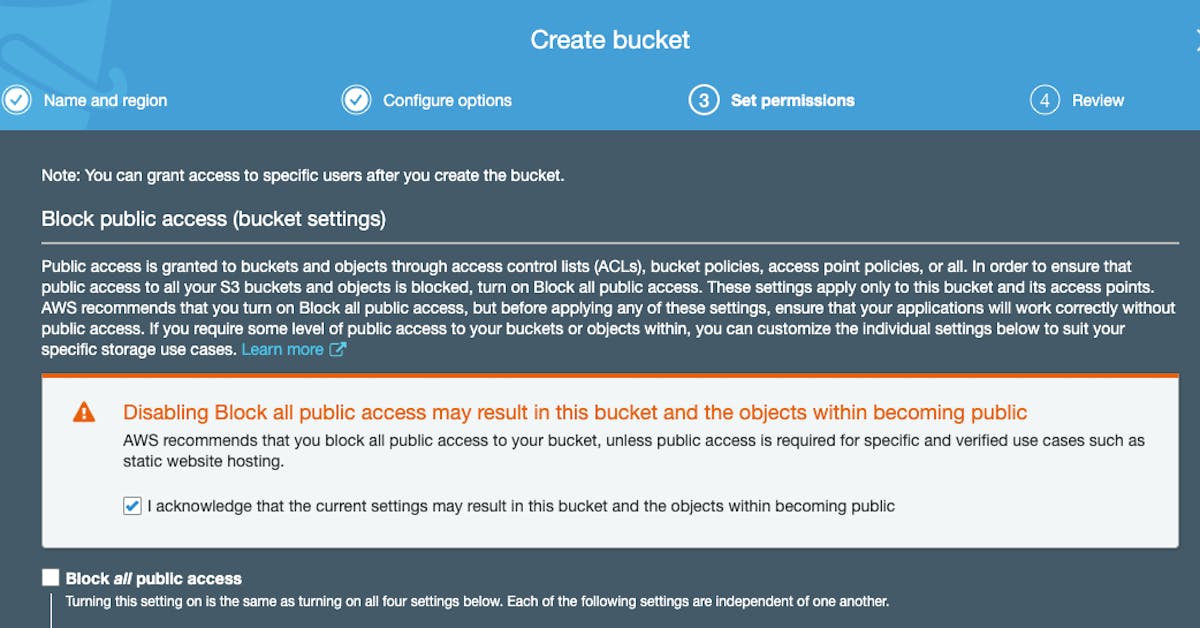
After naming your S3 Bucket, you have to choose the region that you want your website to be hosted. After you have chosen the region you will need to set permissions for the bucket ( let's skip step 2 and move to step 3), so click next.
Now you should uncheck the box that says "Block all public access", that will prompt a warning from AWS, where you should acknowledge that the objects within the bucket will be public.
All setup, now you just need to go to step 4 to finish the process by clicking on "Create your bucket".
2. AWS S3 Bucket Static Website Configuration
Great! You now have your S3 Bucket, but you will need to configure the bucket for static website hosting, but don't sweat it, it's a straight forward and simple process.
Navigate to S3 in your AWS Console, search for your bucket, and:
- Click on your bucket
- Go to the "Properties" section
- Click on "Static Website Hosting"
- Select "Use this bucket to host a website"
- Enter "Index.html" in "Index Document" option
Now it's time to update the "Bucket Policy" of your S3 bucket to have public read access. Without this update, no one would be able to load the static content from your Gatsby website. To update the "Bucket Policy" follow these steps:
- Click on your bucket
- Go to the "Properties" section
- Select "Bucket Policy"
- Use the editor to add the following policy and then save (note that you might need to update it to match your bucket's name)
{
    "Version": "2012-10-17",
    "Statement": [
        {
            "Sid": "PublicReadGetObject",
            "Effect": "Allow",
            "Principal": "*",
            "Action": "s3:GetObject",
            "Resource": "arn:aws:s3:::mys3domain.com/*"
        }
    ]
}
Awesome, your bucket is now ready to host your Gatsby website or any other static generated website.
In my next post, I will explain how you can automate your deploy onto AWS S3 using Gitlab CI, stay tuned for more.
Please share your thoughts or follow me on Linkedin.

